October 28, 2017

Migration Story: Agile to FDD in light of AWS @ AWS Community Day 2017


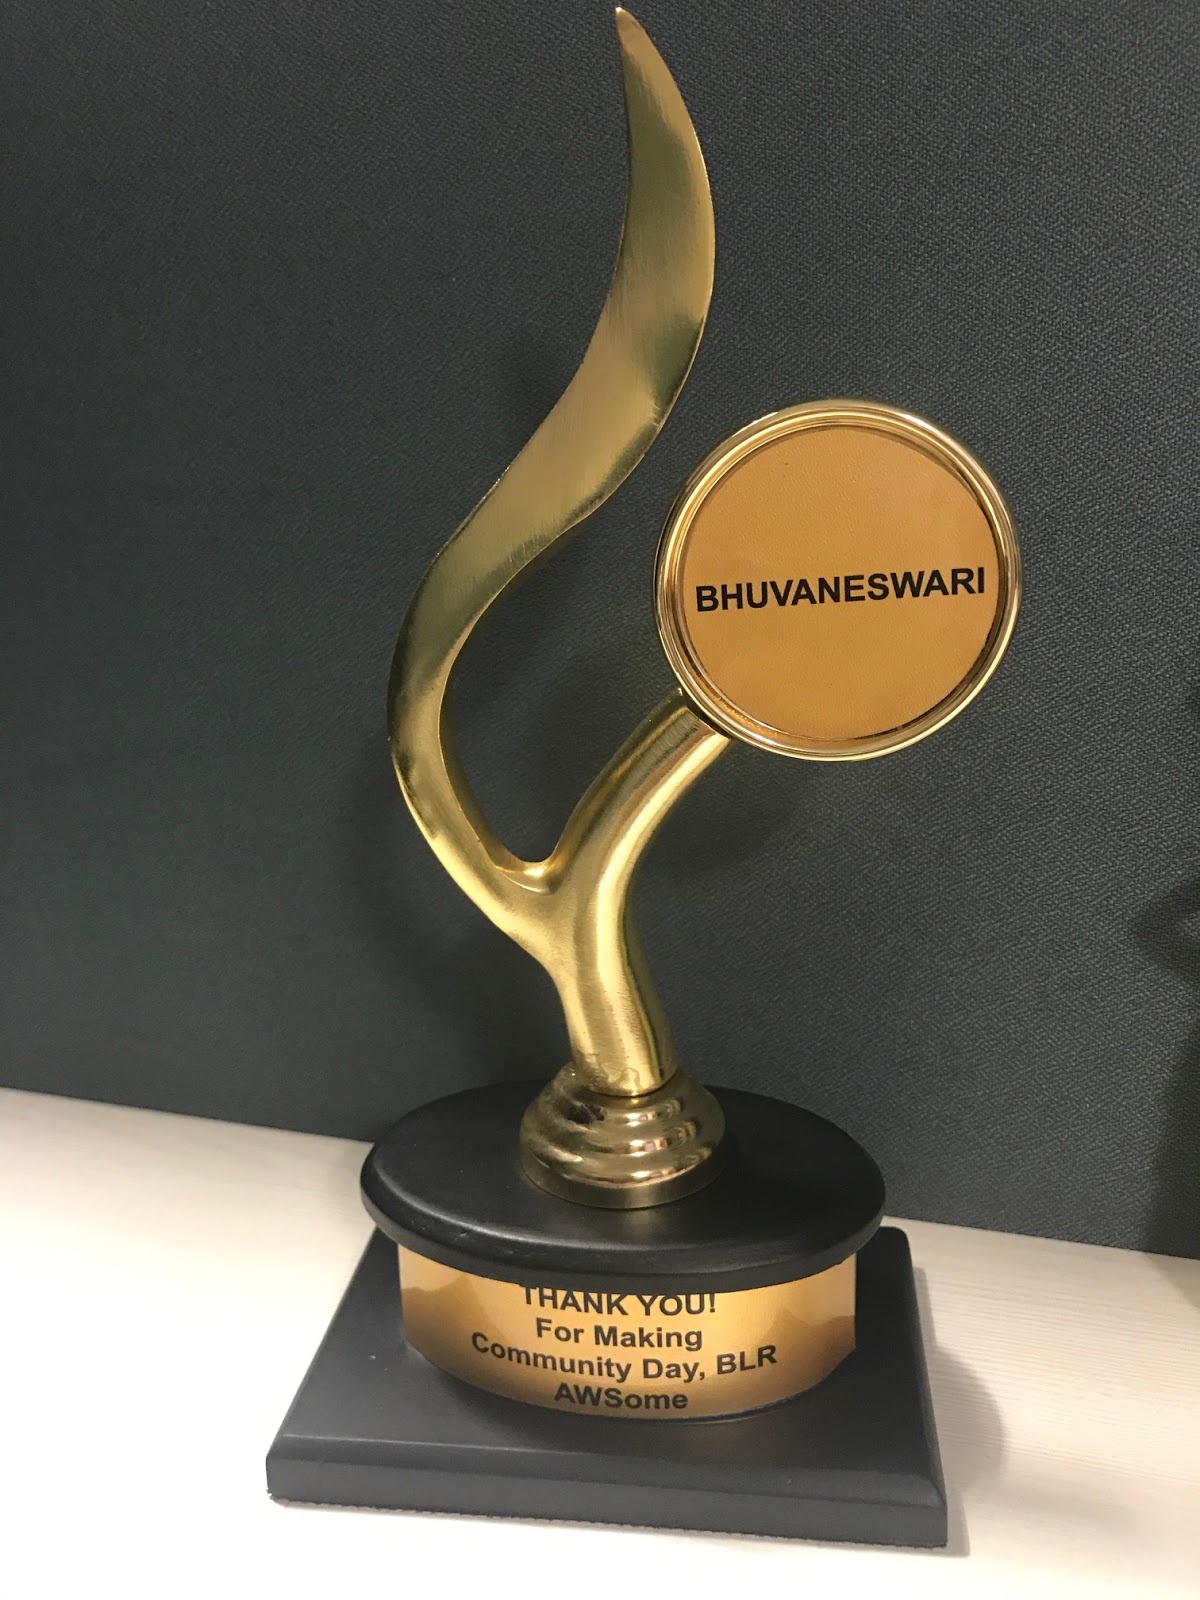
AWS User Group Bengaluru had organized the first ever AWS Community Day in Bengaluru on 28th Oct 2017 which was an all-day event running two parallel tracks - proven use cases / success stories and workshops.
I also had an opportunity to present one of our companies most successful use-case "Migration Story: Agile to FDD in-light of AWS"

While moving from Agile to Feature Driven Development (FDD) with geographically distributed development centre, it is customary to have dedicated light environment per feature and robust automation to build & deploy at your own will!
The migration story was on Agile to FDD from a cloud based supply chain leader,  GTNexus an Infor Company that unfolds how the AWS Services came as a blessing in disguise to provide a highly scalable, Elastic & Cost Effective Solution to facilitate on-demand miniature development environments and independent Build & Deployment framework.

Outline

  • How GTNexus used Agile Scrum and the paradigm shift in the branching strategy when moved from scrum to Feature Driven Development
  • Development Cycle & the Timeline
  • High-level architecture of a full-fledged test environment hosted in DataCenter and the need for on-demand, scalable, miniature development environment for feature based testing in AWS.
  • Highly Elastic Build & Deployment Framework to cater the on-demand build & deployment needs of FTEs
    While we were talking, our we had ~ 500 on-demand FTEs across 4 regions viz - Mumbai, US West - Oregon, Europe - Frankfurt & US East - North Virginia.
  • How useful was the move to AWS in terms of ScalabilityElasticityCost Efficiency and Security

Miniature FTE in AWS

On the pursuit of light environment for Feature Based Testing, re-designed the QA Environment with a Single Windows & Linux VM Images with application services installed and housing the OS specific Data Services (say SQL Server in Windows; DB2, Riak/KVS & memsql in Linux).

After the light environment is setup in private cloud / Data Center, the next step is to setup this light Feature Test Environment in AWS. Windows & Linux VM Images are exported from Data Center & imported into AWS. A Feature Test Environment in AWS comprises of a VPC, Internet Gateway, Internet facing subnet, two EC2 instances that are replicated from the Data Center VMs. These two EC2 instances are stored as pre-fabricated AMIs for creating on-demand FTEs using CloudFormation templates. 


Elasticity in FTEs

With a FrontEnd application developed using AWS SDK for Python, Engineer aka the Feature Owner is free to create new FTE by providing the following inputs like
  • Who owns this FTE? 
  • Where is User’s office located?
  • Which branch should the FTE be based off?
  • What is the feature development Id as in Jira?
and creates the cloud formation template on the fly, which in turn creates the Windows & Linux Instance from the region specific AMIs in the low latency region close to user’s office location and creates RecordSets.
The feature owner can trigger the build & deployment the against the chosen branch to get his changes into the new FTE.

With the FrontEnd application, Engineers are free to create FTEs at their own will, trigger build & deployment as needed, Run Code validation suite like JUnit Tests & SQL Static Code Check. 
When the feature development is complete, feature owner promotes the feature branch to the integration branch and delete the FTE Environment.

And thats how the elasticity is in place for Feature Test Environments.

Elasticity in Build & Deploy Infra

Yes, the build & deployment framework for FTEs are also scalable & elastic in nature and that’s implemented using Jenkins + EC2 plugin. With this plugin, if Jenkins notices that the build or deployment cluster is overloaded, it'll start instances using EC2 API and automatically connect them as Jenkins slaves. When the load goes down, excessive EC2 instances will be terminated. This setup allows you to maintain a small in-house cluster. The FrontEnd application for creating FTEs have an interface to the Jenkins which helps to trigger build & deployment at the click of a button.

The Build & Deployment infrastructure is of three pre-fabricated AMIs
  1. Build
  2. Deployment 
  3. NAS box which acts as source code and artifact repository

If there are any failures during the deployment, it can be triggered independently via Jenkins as well.


Slide Deck for the Tech Talk can be found here.

October 17, 2017

Certification! AWS Solution Architect - Associate

I am excited to share that I have successfully completed my certification on AWS Solution Architect - Associate and refer here for credentials.
Tips & Tricks for the certification exam preparation based on my experience is captured in another article.


August 20, 2017

Credentials Management with AWS

Storing & Managing the credentials should be handled cautiously be it on-premise or on the cloud.
With AWS you can handle that in two ways viz. 1. credstash  2. parameter store

CredStash - KMS + DynamoDB

CredStash is a very simple credential management and distribution system announced in Re:invent 2014, which uses
  • Dynamo DB to store secrets
  • KMS to hold the master keys
  • IAM Policies for Access Control

Here you go with the steps for CredStash setup

1. Create an IAM user or Role

You need to create an IAM user or Role, which has minimum permission to generate KMS Data Key and put / get from from the Dynamo DB Table. Hence the following permissions in the IAM policies are mandatory - kms:GenerateDataKey and dynamodb:PutItem.

2. Create a KMS Key 

  • Login to AWS Console
  • Go to IAM Console -> Encryption Keys and Click Create Key
  • Select Region  under Encryption Keys
    [Note: Master keys are defined and stored regionally. Master keys cannot be shared across regions. You can use the same alias and/or description for keys across regions, but the underlying key itself will be unique.]
  • Enter Key Name: credstash  with appropriate Description and Choose Key Material Origin as KMS under Advanced Options.
  • tag it as per your standard
  • Key Administrators: Choose the IAM users and roles that can administer this key through the KMS API
  • Key Users: Choose the IAM users and roles that can use this key to encrypt and decrypt data from within applications.

3.  Setting up CredStash

# Make sure to run with elevated privileges before you run the below commands
$ sudo su -
CredStash - Installation on mac:
# Ensure Python version as 2.7 or above
$ python --version   
# Install pip
$ sudo easy_install pip 
# Install credstash
$ sudo pip install credstash 
CredStash - Installation on Linux:
# Ensure Python version as 2.7 or above
$ python --version   
# Ensure pip version as 9.0.1 or above
$ pip --version   
# upgrading pip from 6.1.1 to 9.0.1 to install credstash moves /usr/bin/pip to /usr/local/bin/pip # Ensure pip version as 9.0.1 or above
$ sudo pip install --upgrade pip  
$ /usr/local/bin/pip --version
# Install credstash
$ sudo pip install credstash 
CredStash - Setup
# credstash setup - basically creates a Dynamo DB table named `credential-store` by default and you can optionally special custom table name with `--table` option  
# Default
$ credstash setup 
# Custom
$ credstash --table my-credential-store setup

4. CredStash - Store & Manage Credential:

#1 Storing the Secret Key Value through parameter
$ credstash --table my-credential-store put 'secret_key_name' 'secret_key_value' ['context_key'='context_val']
'context_key' can be used to pass an 'encryption context' like environment and if specified during encryption should be specified during decryption as well. Can be used for extra security as defined here.   
[Note: Watch out the above single quote (can be double quote as well) during copy + paste, otherwise you might get the following error
An error occurred (ResourceNotFoundException) when calling the PutItem operation: Requested resource not found.] 
         
          # Reading the Secret Key Value
          credstash --table my-credential-store get 'secret_key_name' 

          # Assigning the Secret Key Value to a variable
          $ my_secret_key_value = $(credstash --table my-credential-store get 'secret_key_name')

          # Deleting the Secret Key from Dynamo DB Table
            credstash --table my-credential-store delete 'secret_key_name'

          # You can clean your credstash setup by just deleting the table
          $ aws dynamodb delete-table --table-name <table name>

           <table_name> = credential-store by default and custom as you have defined.

          #2 Storing Secret Key Value from a file via stdin.
          # Storing @ as first character in secret_key_value errors outs
          # basically this is due to the way credstash.py utility is written    
            $ credstash --table my-credential-store put 'my_complex_key_name' '@abc$de*fg'
                usage: credstash put [-h] [-k KEY] [-v VERSION] [-a]
                          [-d               {SHA,MD5,RIPEMD,SHA384,SHA224,SHA256,SHA512,WHIRLPOOL}]                          credential value [context [context ...]]           
               credstash put: error: argument value: Unable to read file abc$de*fg
       
       
          # Alternate option to have @ as first character in secret_key_value
          # Store key value in a file (say pwd.txt)
            $ cat pwd.txt | credstash --table my-credential-store put 'my_complex_key_name' -
               my_complex_key_name has been stored
            [Note: hypen in the end tells credstash to take the value from stdin.]

            $ credstash --table my-credential-store get 'my_complex_key_name'
             @abc$de*fg

            $ export my_key_value=$(credstash --table my-credential-store get '
my_complex_key_name')
            $ echo $test
              @abc$de*fg


#3 Storing Secret Key Value from a file by specifying file name as parameter prefixed with @   
# basically this is due to the way credstash.py utility is written    
credstash --table my-credential-store put 'my_complex_key_name' '@pwd.txt'     
   my_complex_key_name has been stored 
$ credstash --table my-credential-store get 'my_complex_key_name'
               @abc$de*fg

Parameter Store under SSM

Parameter Store is a relatively new service launched by AWS in Re:invent 2016 as part of EC2 Systems, which helps you to create a parameter, to store sensitive information which can be accessed from application.

Here you go with the steps for Parameter Store setup

1. Create an IAM user or Role

You need to create an IAM user or Role and assign
ssm:DescribeParameter, ssm:GetParameters permission if you want the user / role to read the parameter & related information. However you will have to provide ssm:PutParameter & ssm:DeleteParameter if you want the user / role to administer Parameter Store.
         Refer  here  for details about Controlling Access to System Manager Parameters.

2. Create a KMS Key 

  • Login to AWS Console
  • Go to IAM Console -> Encryption Keys and Click Create Key
  • Select Region  under Encryption Keys
    [Note: Master keys are defined and stored regionally. Master keys cannot be shared across regions. You can use the same alias and/or description for keys across regions, but the underlying key itself will be unique.]
  • Enter Key Name:  database_keys  with appropriate Description and Choose Key Material Origin as KMS under Advanced Options.
  • tag it as per your standard
  • Key Administrators: Choose the IAM users and roles that can administer this key through the KMS API
  • Key Users: Choose the IAM users and roles that can use this key to encrypt and decrypt data from within applications.

3. Store & Manage Credential:

    Create Parameter through Console

  • Login to AWS Account, go to AWS EC2 Console -> System Manager -> Parameter Store
  • Click Get Started Now or Create Parameter, enter Parameter Name, Description, Type (choose SecureString for storing passwords), KMS Key ID followed by the actual value to be set for the parameter.
    This value will be encrypted using the master key from the given KMS Key ID and stored.
    Create Parameter through AWS Cli

         # You have option to store 3 types of parameters - viz String, StringList and SecureString where this blog focuses only on SecureString.
         # Storing the Secret Key
          aws ssm put-parameter --name 'secret_key_name' --type 'SecureString' --value 'secret_key_value' --key-id 'kms_key_id'
               [Note:
                 1. By default aws ssm uses alias/aws/ssm key which is created by AWS when the account is setup. You can pass custom KMS key using --key-id option.
                 2. --overwrite can be used to replace the existing value
                ]

          # Reading the Secret Key Value - Encrypted
          $ aws ssm get-parameters --name 'secret_key_name' --with-decryption
                 the output is in json format as listed below 
                      {
                            "InvalidParameters": [],
                            "Parameters": [
                                 {
                                       "Type": "SecureString",
                                       "Name": "secret_key_name",
                                       "Value": "encrypted_secret_key_value"
                                 }

                             ]                        }  
          # Reading the Secret Key Value - decrypted original value
          $ aws ssm get-parameters --name 'secret_key_name' --with-decryption
                 the output is in json format as listed below 
                      {
                            "InvalidParameters": [],
                            "Parameters": [
                                 {
                                       "Type": "SecureString",
                                       "Name": "secret_key_name",
                                       "Value": "secret_key_value"
                                 }

                             ]                        }  
          # Assigning the Secret Key Value to a variable
          $ my_secret_key_value = $(aws ssm get-parameters --name 'secret_key_name' --region='region_code' --with-decryption --query Parameters[0].Value --output text)
             
 [Note:
                   If the parameter is not defined in the specific region or not able to retrieve due to any other region None will be returned.]


          # Deleting the Parameter / Secret Key
          $ aws ssm delete-parameter --name 'secret_key_name'

CredStash vs Parameter Store

Refer AWS KMS Pricing and DynamoDB Pricing for more details.


CredStash involves both AWS KMS & DynamoDB pricing whereas Parameter Store involves only AWS KMS pricing. But for storing database credentials, we would still remain with the free limit of DynamoDB usage. 

August 13, 2017

Getting started with AWS


Here is the pictorial representation of 5 steps on Getting started with AWS
1. Create an AWS account

2. Create an IAM user using root account


3. Create VPC with Single Subnet using new user


4. Create a Security Group


5. Create an Instance, link to VPC, Subnet & Security Group


August 5, 2017

RDS supported Database Engines vs RDS Features


As on 2017 RDS supports 6 Database Engines viz. MySQL, Oracle, SQL Server, PostgreSQL, MariaDB & Aurora. The below table depicts the comparison of 4 salient features of RDS - Automated Backup, Encryption, Multizone Availability and Read Replica


RDS Database
Automated Backup
 & Snapshot
Encryption
@ Rest
Multizone Availability
Read Replica
MySQL
Yes
Yes
Yes
Yes
Oracle
Yes
Yes
Yes
No
SQL Server
Yes
Yes
SQL Server Mirroring
No
PostgreSQL
Yes
Yes
Yes
Yes
MariaDB
Yes
Yes
Yes
Yes
Aurora
Yes
No
No
No